
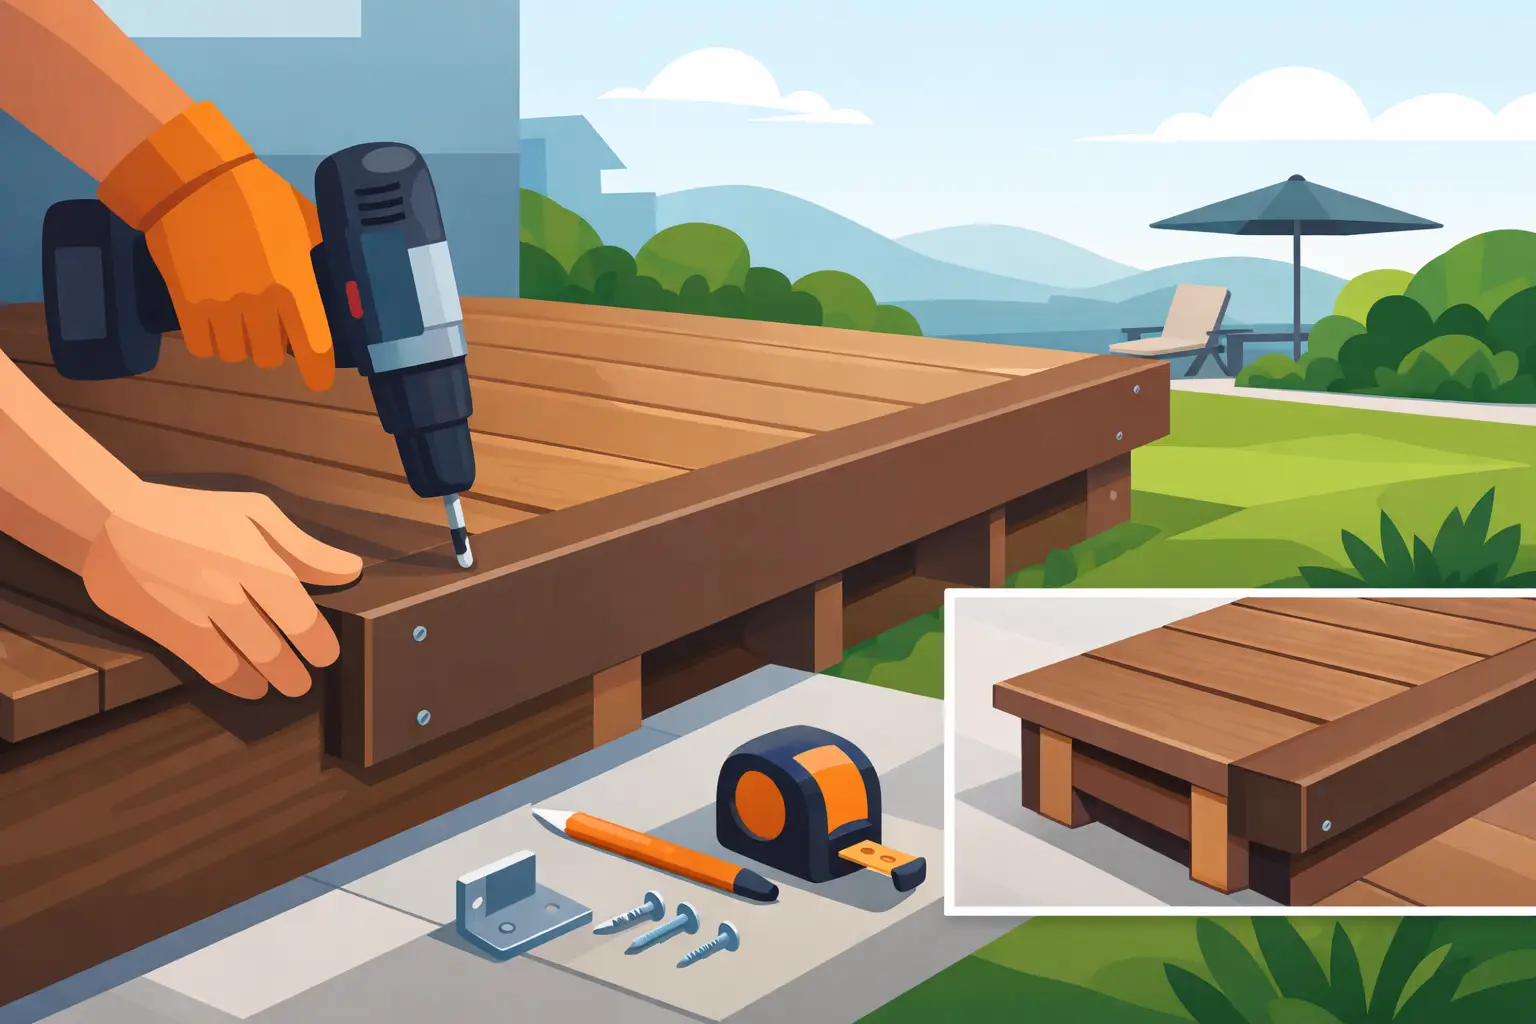
How to Fit Decking Edging Boards Properly

A deck can be perfectly level, solid underfoot and fitted with quality boards, then still look unfinished if the edges are left exposed. That is why knowing how to fit decking edging boards properly matters. Done well, edging boards tidy the perimeter, protect the frame from view and give the whole installation a sharper, more professional finish.
For homeowners, that means a deck that looks complete rather than half-finished. For installers and trade buyers, it is often the detail that separates a quick job from a quality one. The good news is that fitting edging boards is straightforward if the frame has been planned properly and the right fixings are used.
What decking edging boards actually do
Edging boards are fitted around the outside of the deck to cover the exposed subframe and the cut ends of the decking boards. On composite installations, they are usually chosen to match or complement the main deck boards, so the perimeter looks intentional rather than like an afterthought.
They also help protect the overall appearance of the deck over time. Exposed edges can draw attention to slight inconsistencies in cuts or spacing, especially on larger installations. A well-fitted edging board gives you a cleaner line and hides those structural elements that do not need to be seen.
There is a practical side too. If you are building with composite materials, edging boards help complete the low-maintenance finish customers expect. Timber frames and joists still need to be built correctly, but a neat outer trim helps reduce the amount of exposed framework taking the weather.
Before you fit decking edging boards
The biggest mistake is treating the edging as the final cosmetic bit and leaving all the thinking until the end. If you want to know how to fit decking edging boards without awkward gaps, uneven corners or visible bowing, start with the deck frame.
Your outer joists need to be straight, well-supported and set at the correct depth to allow the edging board to sit neatly beneath the deck boards. If the frame is out, the edging will show it. Composite boards are consistent, which is great for finish quality, but that also means they do not hide poor preparation.
Check three things before fitting anything. First, make sure the deck boards have been installed with consistent overhang where needed. Second, confirm the finished height leaves room for the edging profile you are using. Third, inspect the perimeter for any proud screws, clips or uneven joists that could stop the board sitting flush.
Tools and fixings you will need
In most cases, you will need a tape measure, spirit level, drill driver, suitable saw, stainless steel screws and a countersink bit if required. For composite products, always use fixings suited to outdoor use and to the material itself. Stainless steel is the safer option for longevity, especially in British weather.
If the edging board is part of a matching composite system, it is worth following the manufacturer guidance on expansion gaps and fixing points. Composite does move slightly with temperature changes, so boards should be secure without being over-restrained. That balance matters more on long runs and sun-exposed areas.
How to fit decking edging boards step by step
Start by measuring each exposed side of the deck individually. Do not assume opposite sides are exactly the same. Even a well-built frame can vary slightly, and measuring each section properly will save time later.
Cut each edging board cleanly to length, allowing for corner joints. On square corners, a mitred finish can look smart, but it does need accurate cutting and a stable frame. If speed and durability are the priority, especially on larger or trade jobs, butt joints are often the more practical choice. They are easier to fit and usually cope better with small movement over time.
Offer the first board into place before drilling. Check the top line sits neatly beneath the decking boards and that the face is flush and straight. If the ground level falls away or the frame has minor variations, now is the time to pack or adjust where needed.
Once you are happy with the fit, pre-drill the edging board at consistent intervals. This helps prevent splitting on certain materials and keeps the fixing line tidy. Fix into solid framing rather than relying on thin edges or unsupported sections. A board that is only partly supported may look fine on day one and then start to flex or pull later.
Drive the screws in firmly but do not over-tighten. That is especially important with composite products, where over-fixing can distort the face or create stress around the screw hole. The board should be secure and snug, not forced.
Continue around the perimeter one side at a time. Check levels and alignment as you go rather than waiting until the end. A slight inaccuracy on the first run can become much more obvious by the final corner.
Getting corners and joins right
Corners are where most edging jobs either look sharp or start to look rushed. If you are using mitres, both cuts need to be accurate and the boards need to meet cleanly without pushing against each other too tightly. Leave the right allowance for expansion if you are working with composite.
Butt joints are simpler and often more forgiving. They suit many garden projects because they are quicker to install and less likely to open unevenly if there is slight movement. If appearance is the top priority on a feature deck, mitres may be worth the extra time. If the job is more functional or the perimeter is long, butt joints are usually the sensible option.
Long runs may also require more than one board on a side. In that case, make sure the joint lands over proper support. Joining boards in mid-air is asking for movement, sagging and a poor finish.
Common problems when fitting edging boards
One common issue is a wavy finish along the deck edge. That nearly always comes back to the outer frame not being perfectly straight. The edging board follows the line it is given, so if the frame bows, the finished edge bows too.
Another problem is inconsistent gaps at the top of the edging. This can happen if the deck boards were cut unevenly or if the installer did not account for overhang at the start. You can sometimes reduce the visual impact with careful positioning, but prevention is far better than correction.
Loose fixings are also worth mentioning. Outdoor decking takes movement, moisture and temperature changes all year round. Cheap or unsuitable screws may stain, corrode or fail early. Using quality stainless steel fixings costs a little more up front, but it protects the finish and reduces call-backs.
How to fit decking edging boards on composite decking
If you are specifically looking at how to fit decking edging boards on a composite deck, the main difference is allowing for movement and using compatible trims and fixings. Composite boards are built for durability, low maintenance and a cleaner finish, but they still need proper installation.
That means checking spacing guidance, avoiding over-tightening and keeping support points consistent. It also helps to use edging boards designed to work with the same decking range, as thickness, colour and finish tend to match more closely. A mixed system can work, but it may not give the same neat result.
For homeowners replacing old timber decking, composite edging is often where the upgrade becomes most obvious. The perimeter looks cleaner, the maintenance is lower and the deck feels more like a finished outdoor feature than a basic platform.
When to use fascia boards instead
Some people use the terms edging board and fascia board interchangeably, but it depends on the product range. In many systems, a fascia board is a wider vertical trim used to cover the deck edge and subframe, while an edging board may refer more generally to the perimeter finishing piece.
The important thing is choosing a board that suits the visible drop from deck surface to ground level. If the deck is raised, a deeper fascia-style board may be the better option. If the edge detail is shallower, a standard edging board may be enough. It depends on the build, the look you want and how much of the frame needs covering.
A better finish starts with the right materials
You can fit edging boards neatly with good technique, but materials still matter. Straight boards, reliable fixings and matching trims make the job faster and the finish better. That is especially important for installers working to programme and for homeowners who want the deck done once and done properly.
At CBG Decking Ltd, we see that same pattern time and again - the jobs that go most smoothly are the ones where the full system has been planned from the start, including boards, trims, joists and fixings. Fast delivery within 48 hours and free fixings with every order also help keep projects moving when timing matters.
If your deck edge is the last thing left to finish, do not rush it. A tidy perimeter changes the whole look of the build, and it is one of the first details people notice once the furniture is out and the job is meant to speak for itself.


Comments